

Summer is just around the corner which means longer nights spent outside playing until the sun goes down.
But with warmer weather comes the dreaded tick season and it’s imperative every mom has a homemade tick kit ready to go should one of those bloodsuckers attach to you or your child.
And if you’re looking at how to make a homemade tick kit (that actually works) – we’ve got you covered.
Moms, the last thing you want is to let a tick remain on your child, as the longer the tick stays on your child, the greater chance they can contract Lyme Disease – a growing epidemic with an estimated 300,000 cases each year.
Lyme Disease causes all kinds of chaos to the body – from heart failure to achy joints – and many in the medical community argue if untreated it can turn chronic – and last forever.
Don’t let the fear of Lyme Disease keep you from playing outside, but be smart and protect your family with these tips:
- Prevention: To start – prepare yourself for the outdoors by making sure you do what you can to avoid ticks from attaching to your skin in the first place.
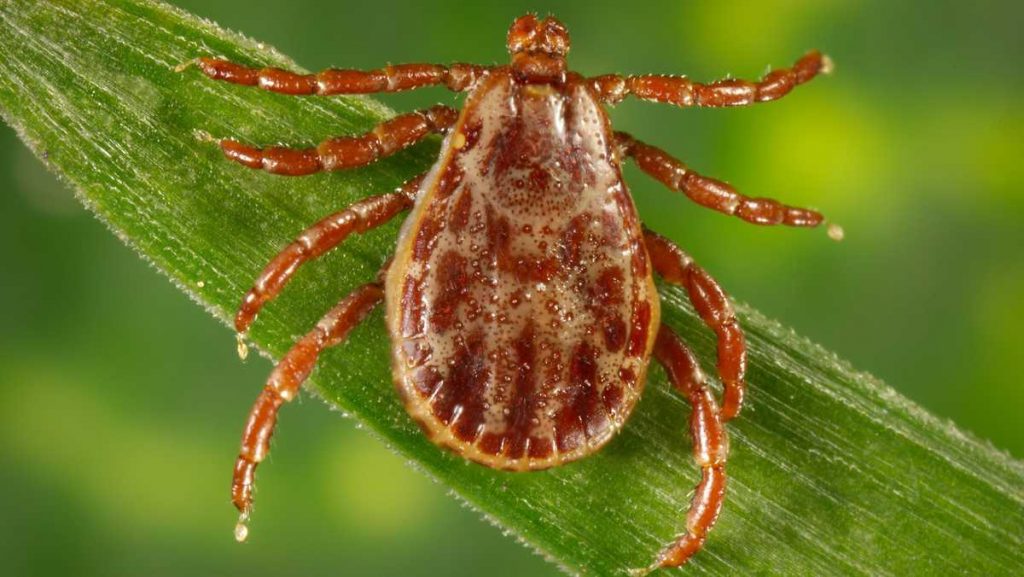
Gone are the days when one can roam and roll in the grass without fear.
Make sure your child has bug spray on them (yes you can use a natural one) – and when hiking wear light colored (long sleeve) clothes. Ticks are still super small, but you have a greater chance seeing them on light clothing.
Don’t forget to spray down their shoes and tuck their pant legs into their shoes when hiking.
And after they come inside – check all areas – their scalp, under the armpits, legs, etc.
Some ticks are so small you can barely see them – but don’t let their small size fool you – they carry all kinds of nasty bacteria.
- The Kit: Let’s say you do everything recommended to prevent ticks form attaching, but after the hike as you look over your child – you see a tick lodged in their skin.
It is critical you avoid the misinformation circling around such as drawing it out with alcohol or essential oils – every moment that tick stays lodged to your child the bacteria are deposited into their skin.
Time is of the essence – ticks don’t only carry Borrelia burgdorferi (the bacteria that causes Lyme Disease) but they carry a whole other host of nasty bacteria that can make you very sick, for the rest of your life.
You want that tick out, quickly.
The key is to have a kit ready to use. Actually, it might serve you better to make three — keep one in your purse, in your car, and at home.
Scary Mommy has some tips on the best items to include in your tick kit:
“The contents are simple: a pair of tweezers, alcohol swabs, a couple index cards or Post-it notes, a Sharpie, and some clear tape tossed together in a Ziploc bag. That’s it.”
- How To Remove The Tick: Remember – the goal is to get the tick out without causing it to burrow further into the skin.
Take your fine-tipped tweezers and seek to grab the tick as close to the skin as possible and then pull up.
Do not dig or force the tick back in.
Remember, every moment the tick stays on the skin, bacteria is being pushed inside the body.
Once you remove the tick, tape it to the index card and date it – and place it inside a Ziplock bag should you need it later for testing.
Moms – please make to take Lyme Disease seriously and make a homemade tick kit.
This simple act of being prepared can truly save your child’s life!
Do you know anyone who has struggled with Lyme Disease? How soon do you plan to make a homemade tick kit?
Tell us your thoughts in the comments below.
And to stay current on the latest Mommy Underground stories, follow us on Facebook and be sure to like and share our posts!